Content
Indoor plants are a great way to bring a touch of nature into your home. They not only add aesthetic appeal but also help in purifying the air.
However, like all living things, they too need care and attention to thrive. One such aspect of plant care is re-potting.
If you’ve noticed that your indoor plants aren’t growing as well as they used to, or if their roots are starting to peek out from the bottom of the pot, it might be time for a change of scenery.
This article will guide you through the process of identifying when your plants are pot-bound and how to successfully re-pot them.
Understanding pot-bound plants
Before we delve into the how and when of re-potting, it’s important to understand what being ‘pot-bound’ means.
A plant is considered pot-bound when its roots have filled up the entire pot, leaving no room for expansion.
This can lead to stunted growth and even death if not addressed promptly.
Signs your plant is pot-bound
There are several signs that your plant may be pot-bound.
These include slow or stunted growth, yellowing leaves, wilting despite regular watering, and roots growing out of the drainage holes at the bottom of the pot.
If you notice any of these signs, it’s likely time for a re-pot.
When to re-pot your indoor plants?
The best time to re-pot most indoor plants is during their active growing season, typically in spring or early summer.
This gives them plenty of time to adjust to their new environment before their dormant period in winter.
However, some plants may need re-potting more frequently than others depending on their growth rate and size.
Seasonal considerations
While spring and early summer are generally the best times to re-pot, some plants may benefit from being re-potted in the fall.
For example, cacti and succulents, which are dormant in the winter, should ideally be re-potted in the fall to give them time to adjust before their active growing season.
How to re-pot your indoor plants?
Re-potting your indoor plants can seem like a daunting task, but with the right tools and steps, it can be quite straightforward.
Choosing the right pot
The first step is choosing the right pot. It should be one size larger than the current one and have adequate drainage holes.
Avoid choosing a pot that’s too large as it could lead to overwatering and root rot.
The re-potting process
Start by gently removing the plant from its current pot. If it’s stuck, you can tap the sides or bottom of the pot to loosen it.
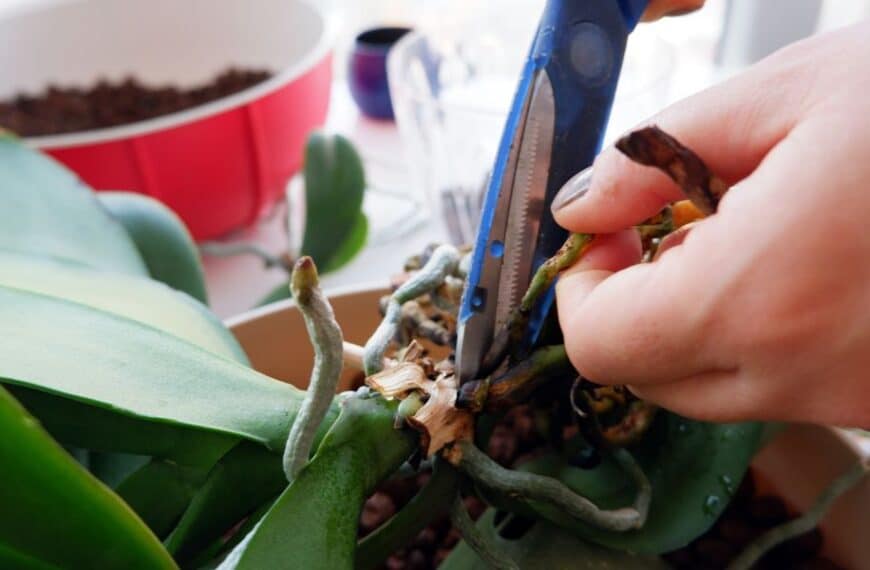
Once out, inspect the roots. If they’re tightly wound or growing in circles, gently tease them apart with your fingers.
Next, place some fresh potting soil at the bottom of the new pot.
Position your plant in the center and fill around it with more soil, pressing down lightly to remove any air pockets.
Water thoroughly and place in a location similar to its previous one.
Caring for your re-potted plants
After re-potting, your plants will need some extra care as they adjust to their new environment.
Keep them out of direct sunlight for a few days and water less frequently until you see new growth.
Remember, re-potting is an essential part of plant care that ensures your indoor greenery continues to thrive.
With these tips in hand, you’ll be well-equipped to keep your indoor garden flourishing.


